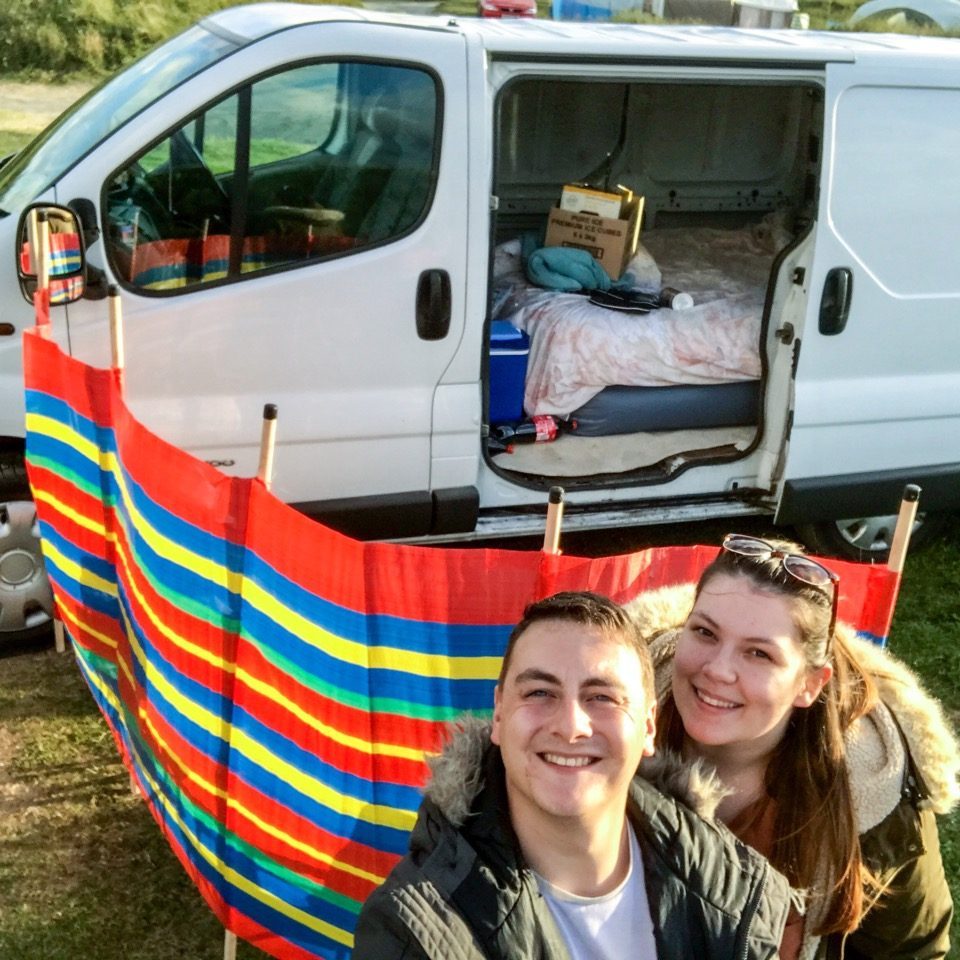
Here it is van build 2.0! After the last couple of trips me and Sam have been on it came apparent that the layout of our van wasn’t working too great. We were having issues cooking getting in and out of bed, head room and many other things that we thought we could do without! Because of all this we decided it was time to strip the van back and build version 2, so here’s the first day of building and a lot was accomplished! 🤗
To start the build off I had to pay a visit to wood merchant gather my supplies and then head back home.


returned home I offloaded the van so now it was time to build a new bed, this time we opted for a double bed instead of the massive king size we made the first time round. With doing this it allowed us to gain more space for cabinets and also lower the height of the bed so that our headroom is better when sitting down.

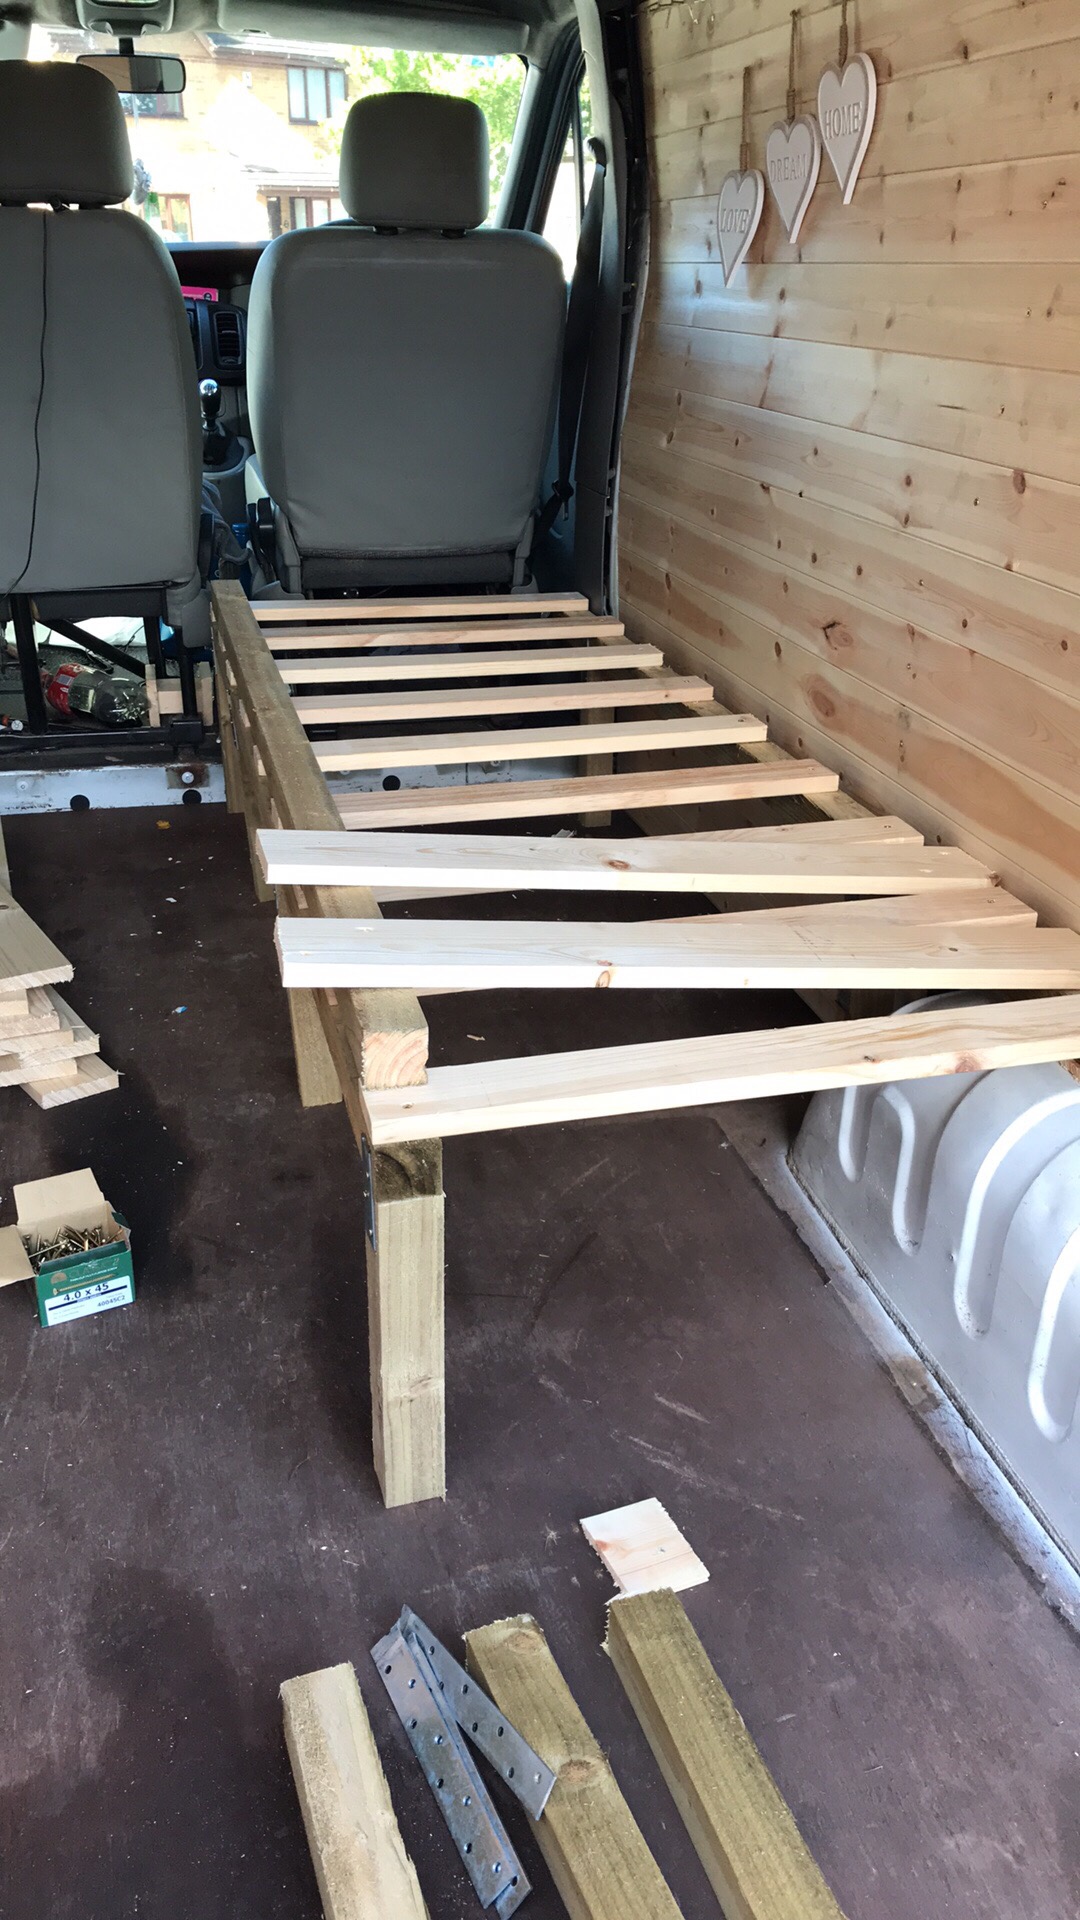
ow its time to build the frame and measure for size we opted to go for 6ft in length because nether me or Sam is 6ft, I bought 2×2 to make the frame of this bed so it was a bit more sturdy.


he next step was to add the legs to the frame I used the vans wheel well as one of the supports for the bed also, with the frame now up it gave me a chance to see where it needed to be placed and also measure out the slats to go on. Because yes you’ve guessed it, it’s another pull out bed! 😅

 I forgot to take pictures of the slats being put in but here they all are anyway! 🙃 you can see I’ve gone for a wider spread between the slats this time to aid in easy operation of the pull out part. I knew I wanted to change this around from the last bed because it was a nightmare to work! 😡

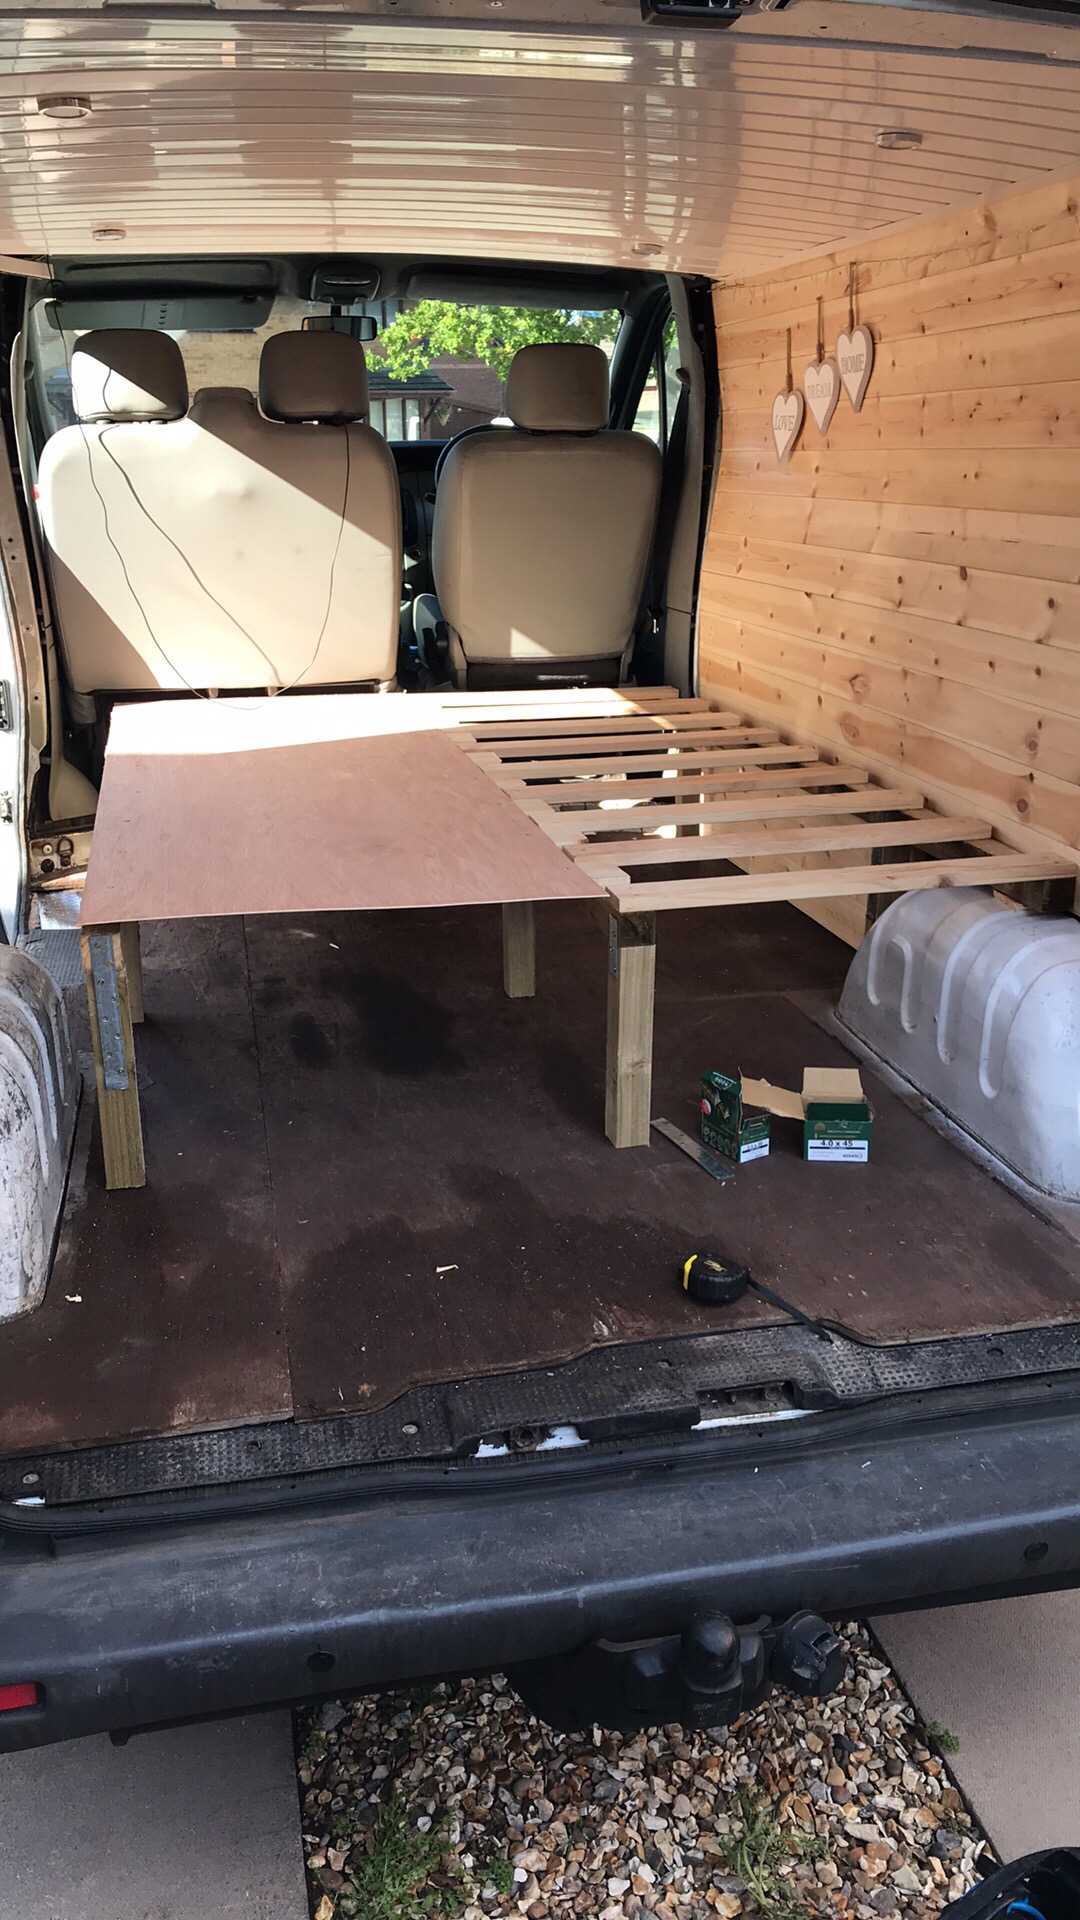
 The next bit was to build the pull out part of the bed which I used the recycled wood from my old bed for which ended up saving me some money 😏 I cut my 2×2 4 inches shorter than the 6ft sections so it sat inside of the bed frame. I then added the 3 legs to the timber and also the slats.

 Voila the bed is finished! 🤓 it’s a lot more sturdy than the last one and also took a lot less time to build, I added a piece of ply board over the top of the bed so the slats won’t move when sliding the bed in and out and also to add some strength to the pull out part.

 That’s the bed done then, The next stage in the build was to build the cabinet/worktop carcass I used 2×1 for this which now I’ve built the frames is a bit over kill standard baton would have been fine for this application.
 Now for the most important part of any build! Dominoes Pizza! And a selfie sent to Sam showing the new found head room 😅

 After my lunch break it was time for more building lots of measurements taken and lots of time spent making sure it was going in right, here you will see some more of the frame going in.


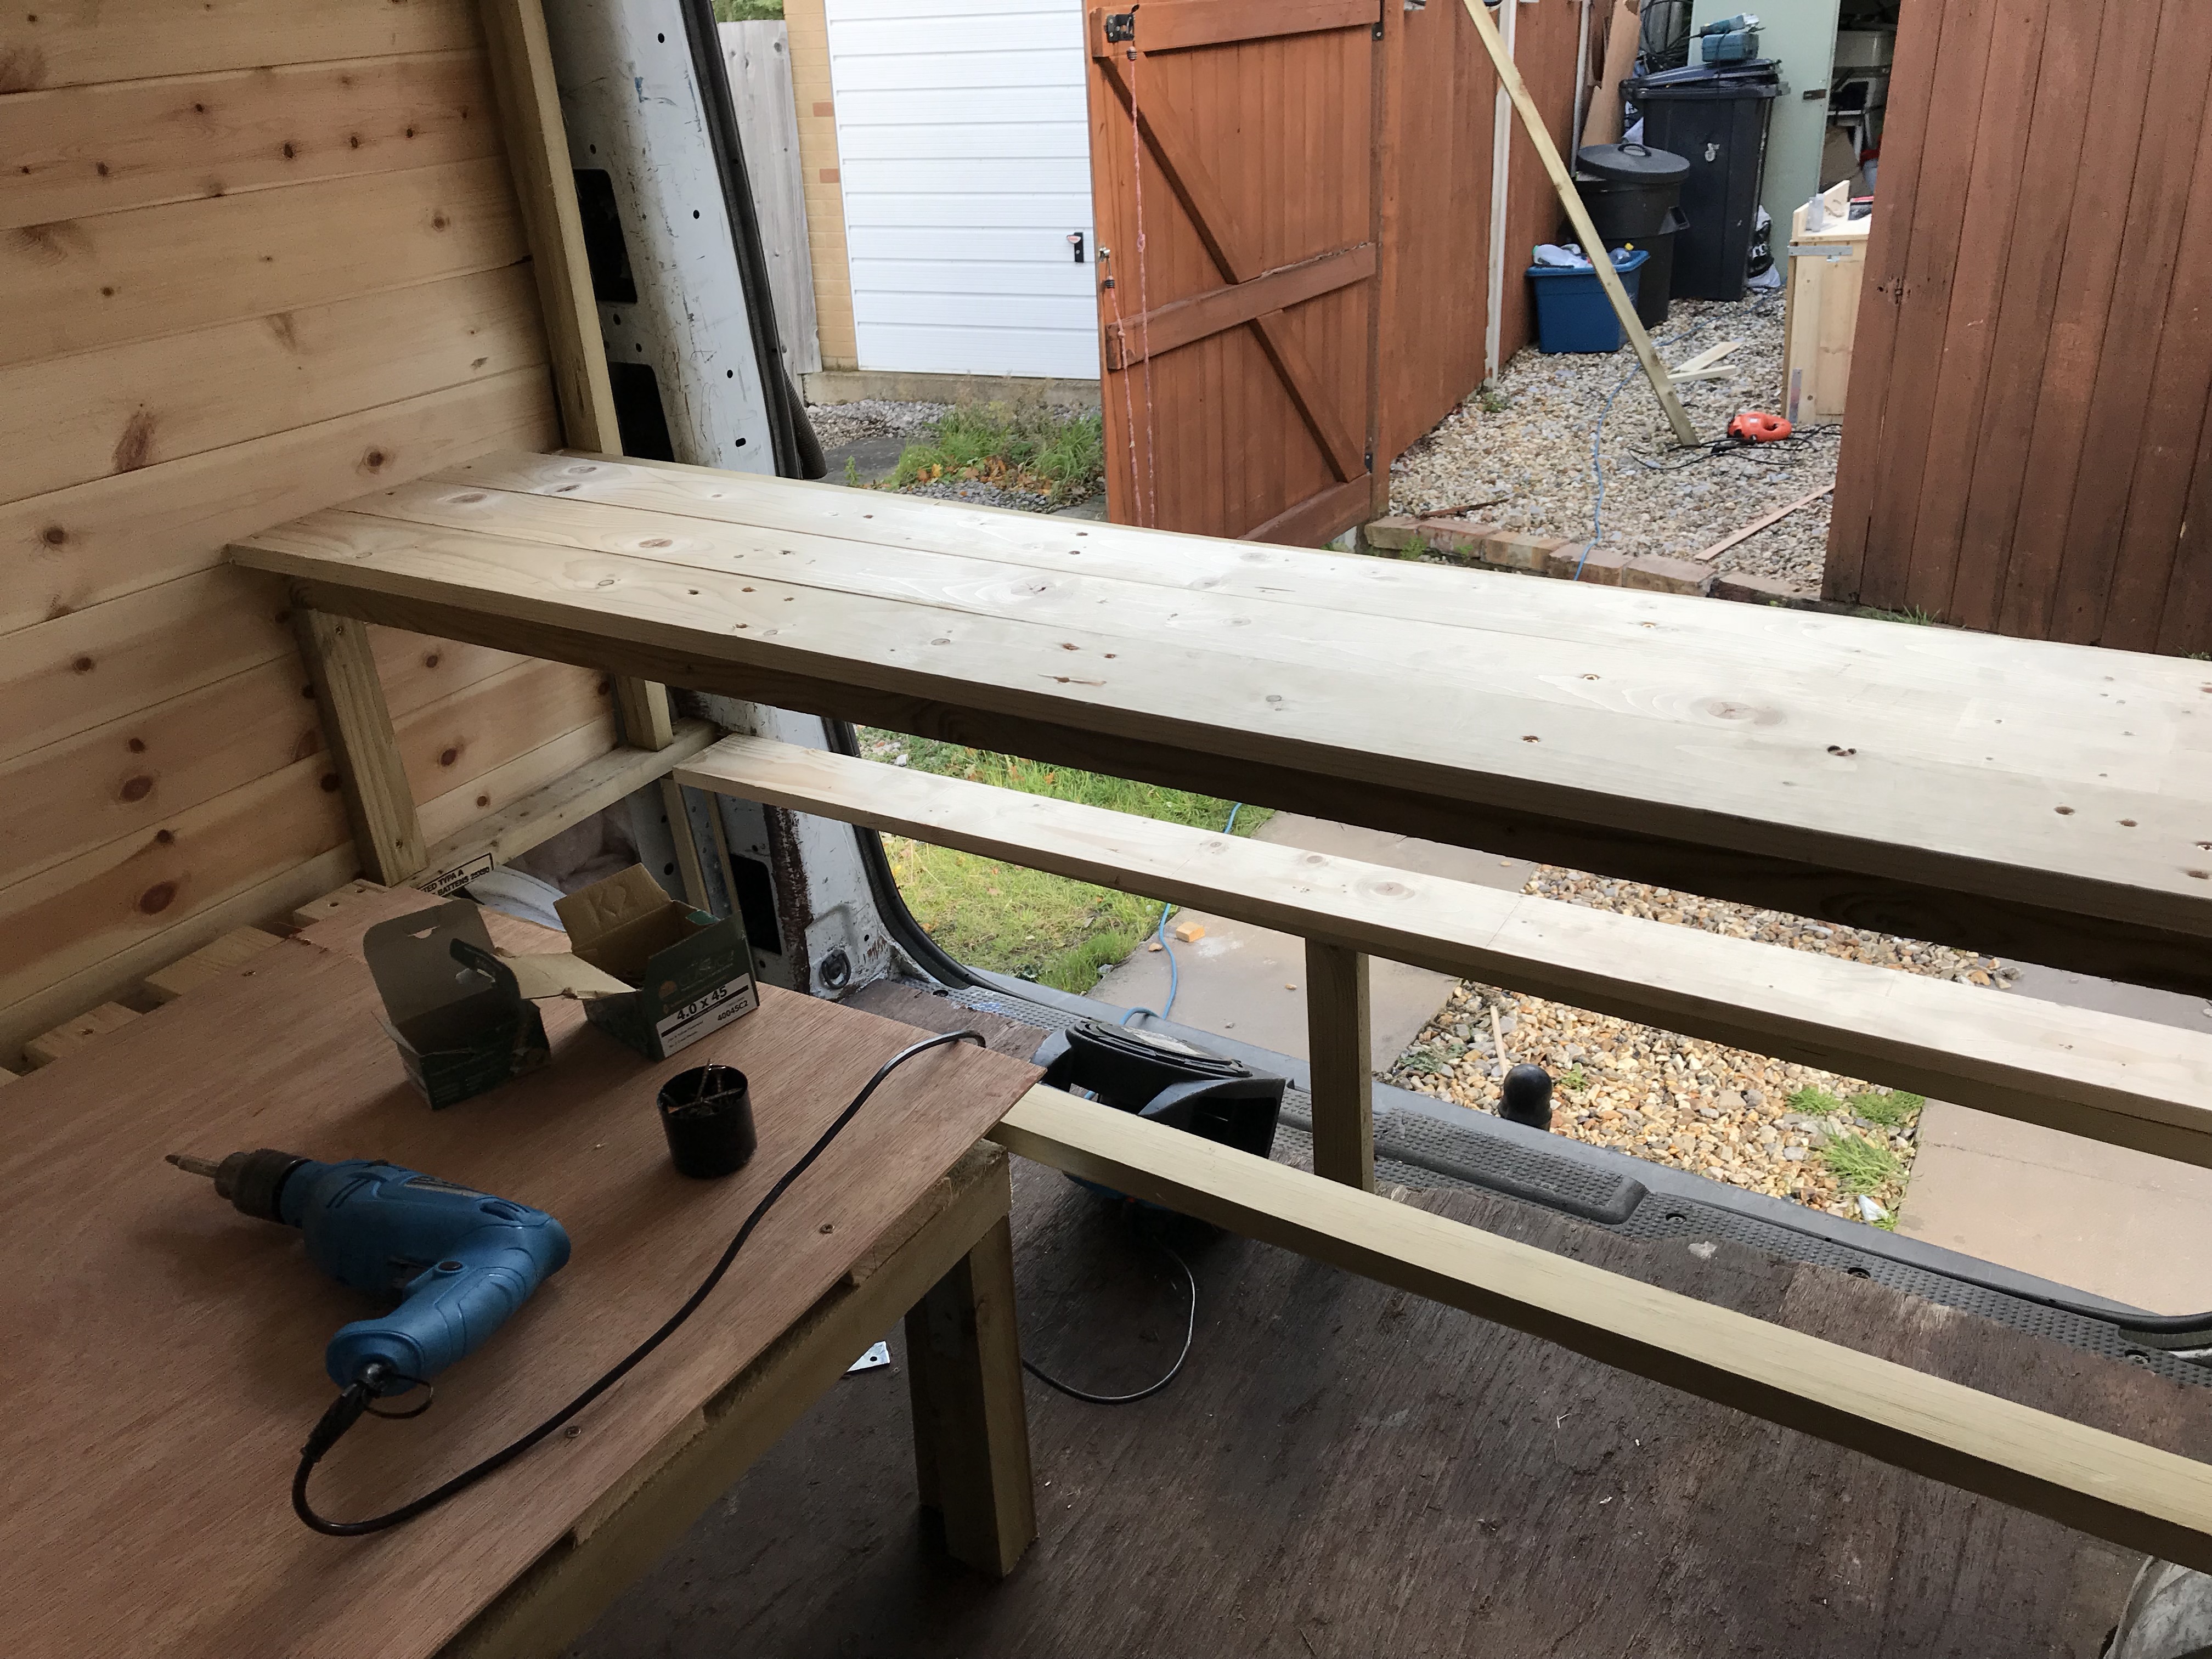
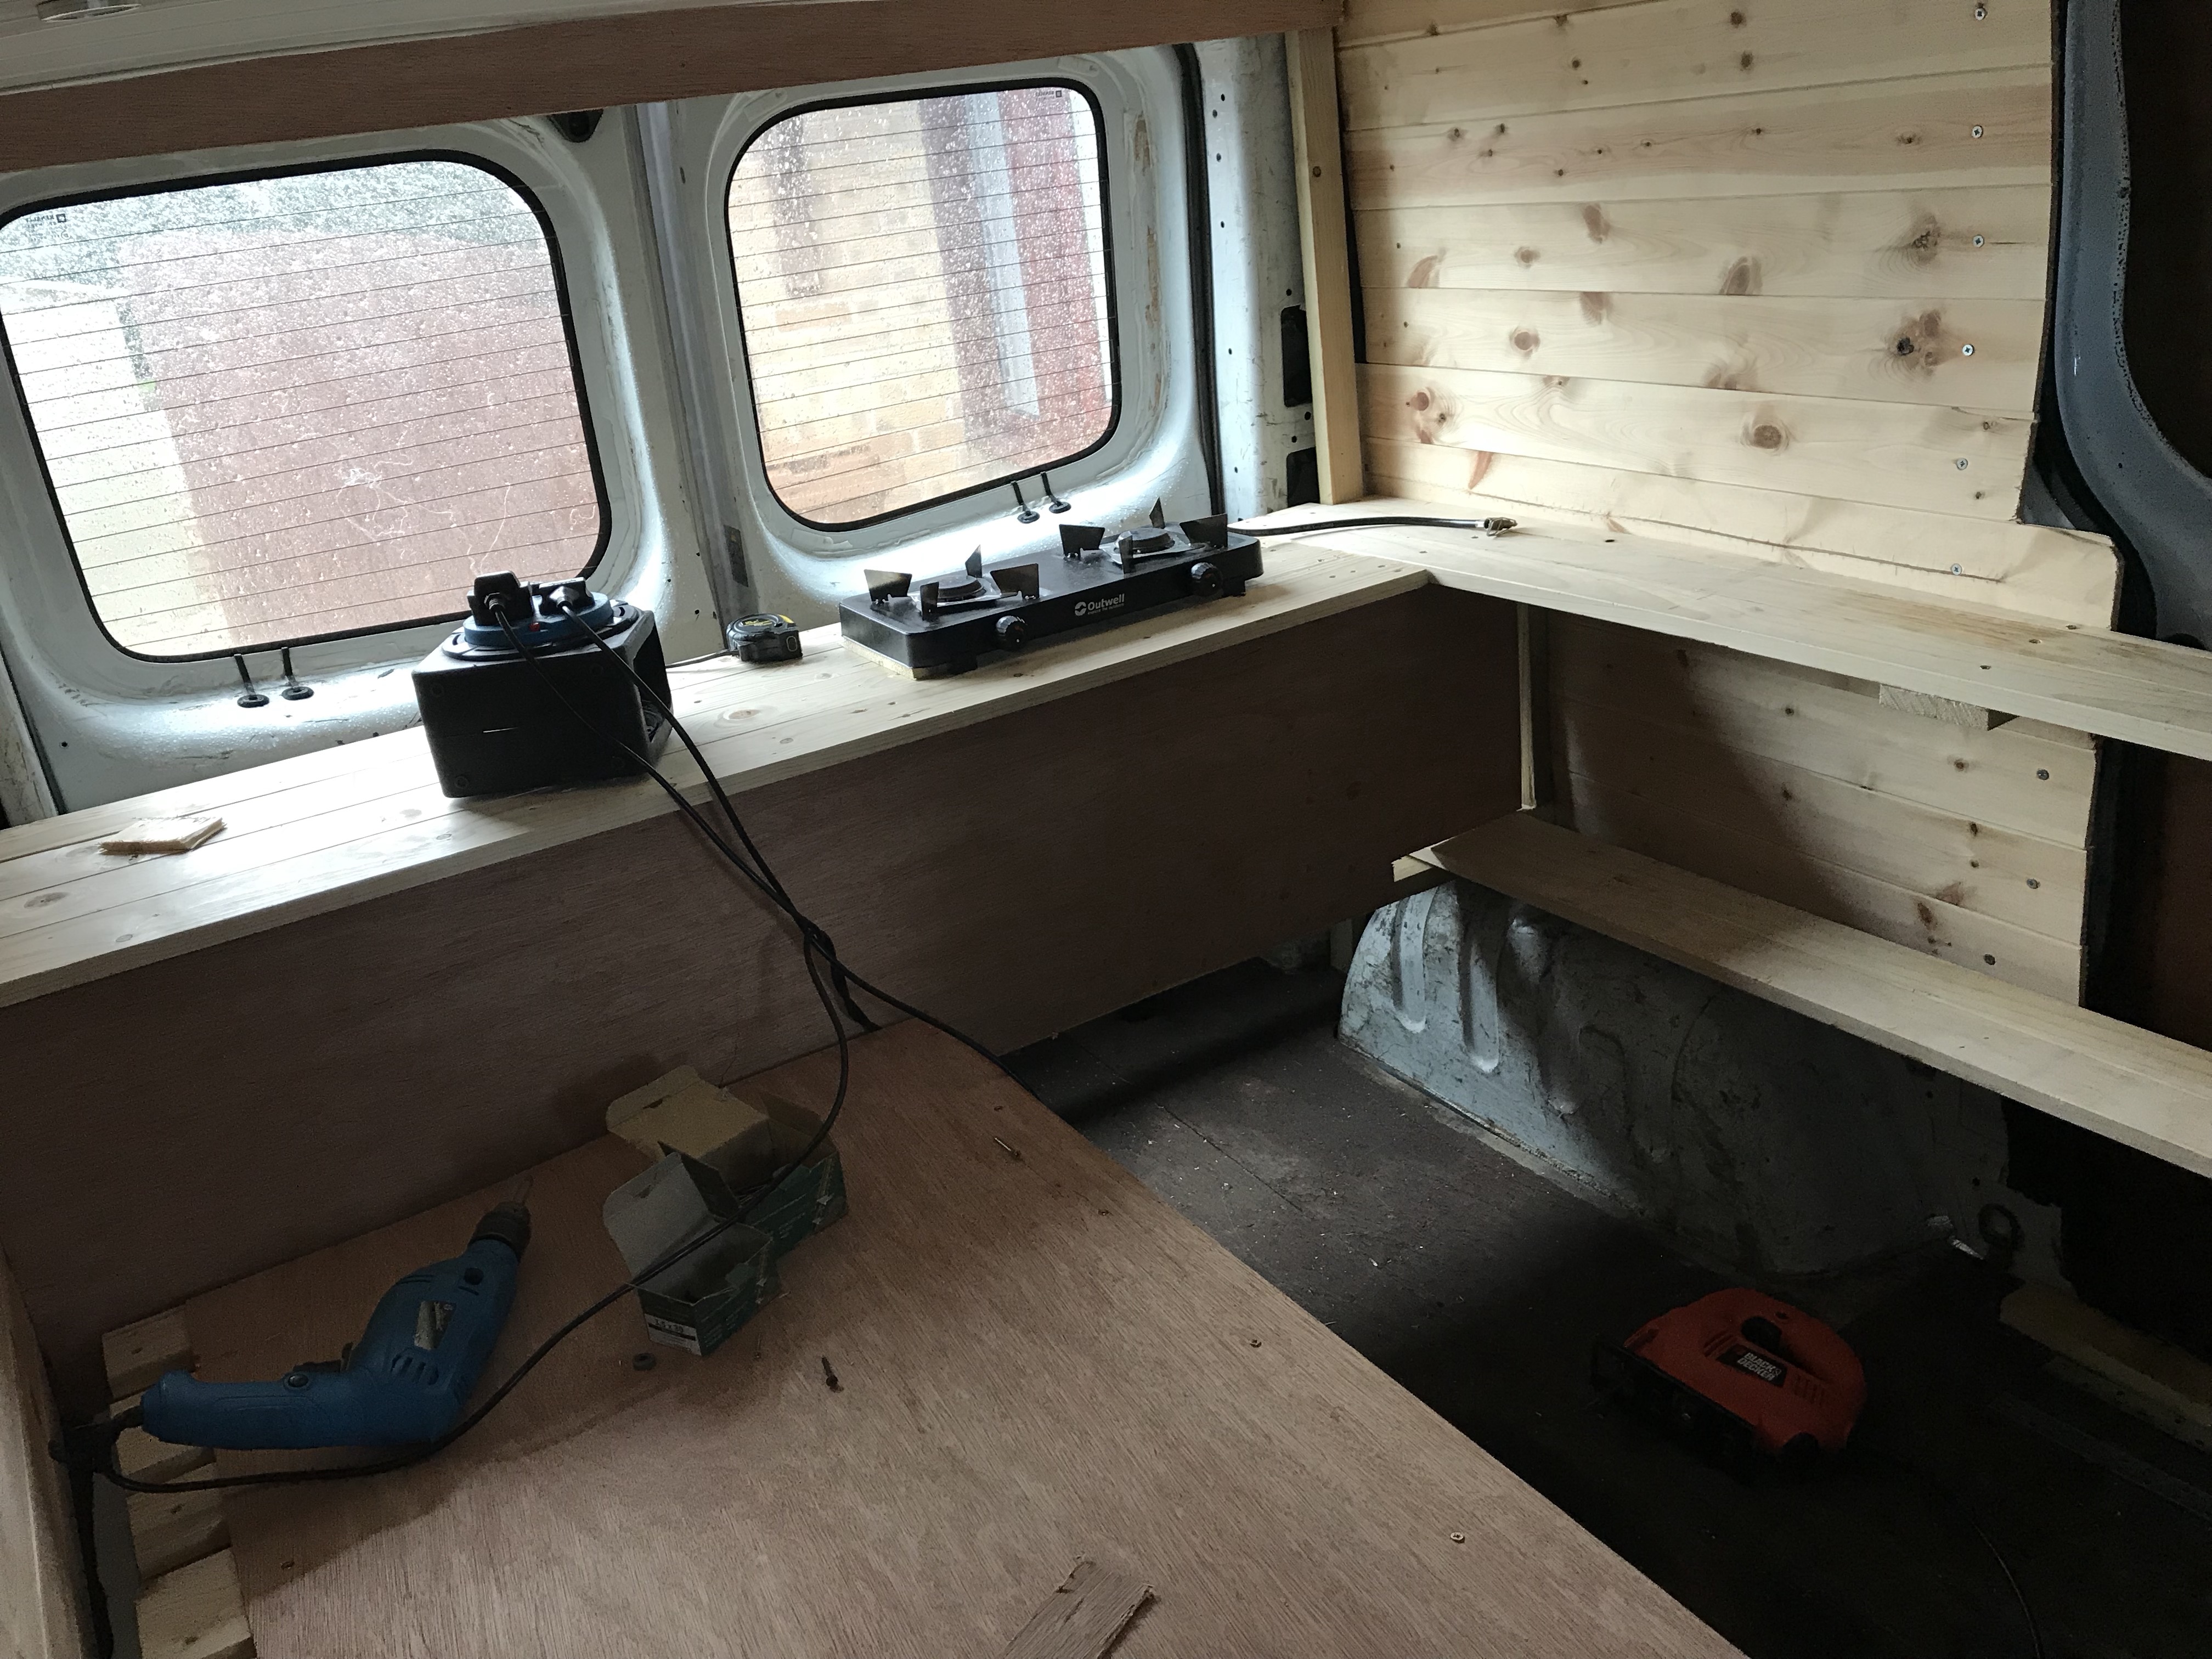
 Glad that is done 🤕 next was to make the worktop surface ready to take the hob and sink ontop.
 Starting to look like something now! 😁 in the second picture there you will see me starting to mock up the second side of the work surface.

 Again I forgot to take picture of the frame being built because I was to focused on getting it done! Remember this was all done in one day 😱 but now you can finally see the layout I’m going for and believe me it’s opened up so much more space and is so much more usable than it was before!
 Adding a shelf to the side now still unsure wether to put a door on this section or leave it
Open 🤔 sure I will decide after it being used on a trip! Next step was to cover some parts up with some ply board.

 After covering up the gaps it was time then to try another important part of the build out.
 The storage section of corse, everything is that small area is what me and Sam take away with us on our trips and it used to take up the front and back of the van it now only takes up that small space! Result 🤤 after this was done it was time to put the bed back in and then fit the bracket for the tv!
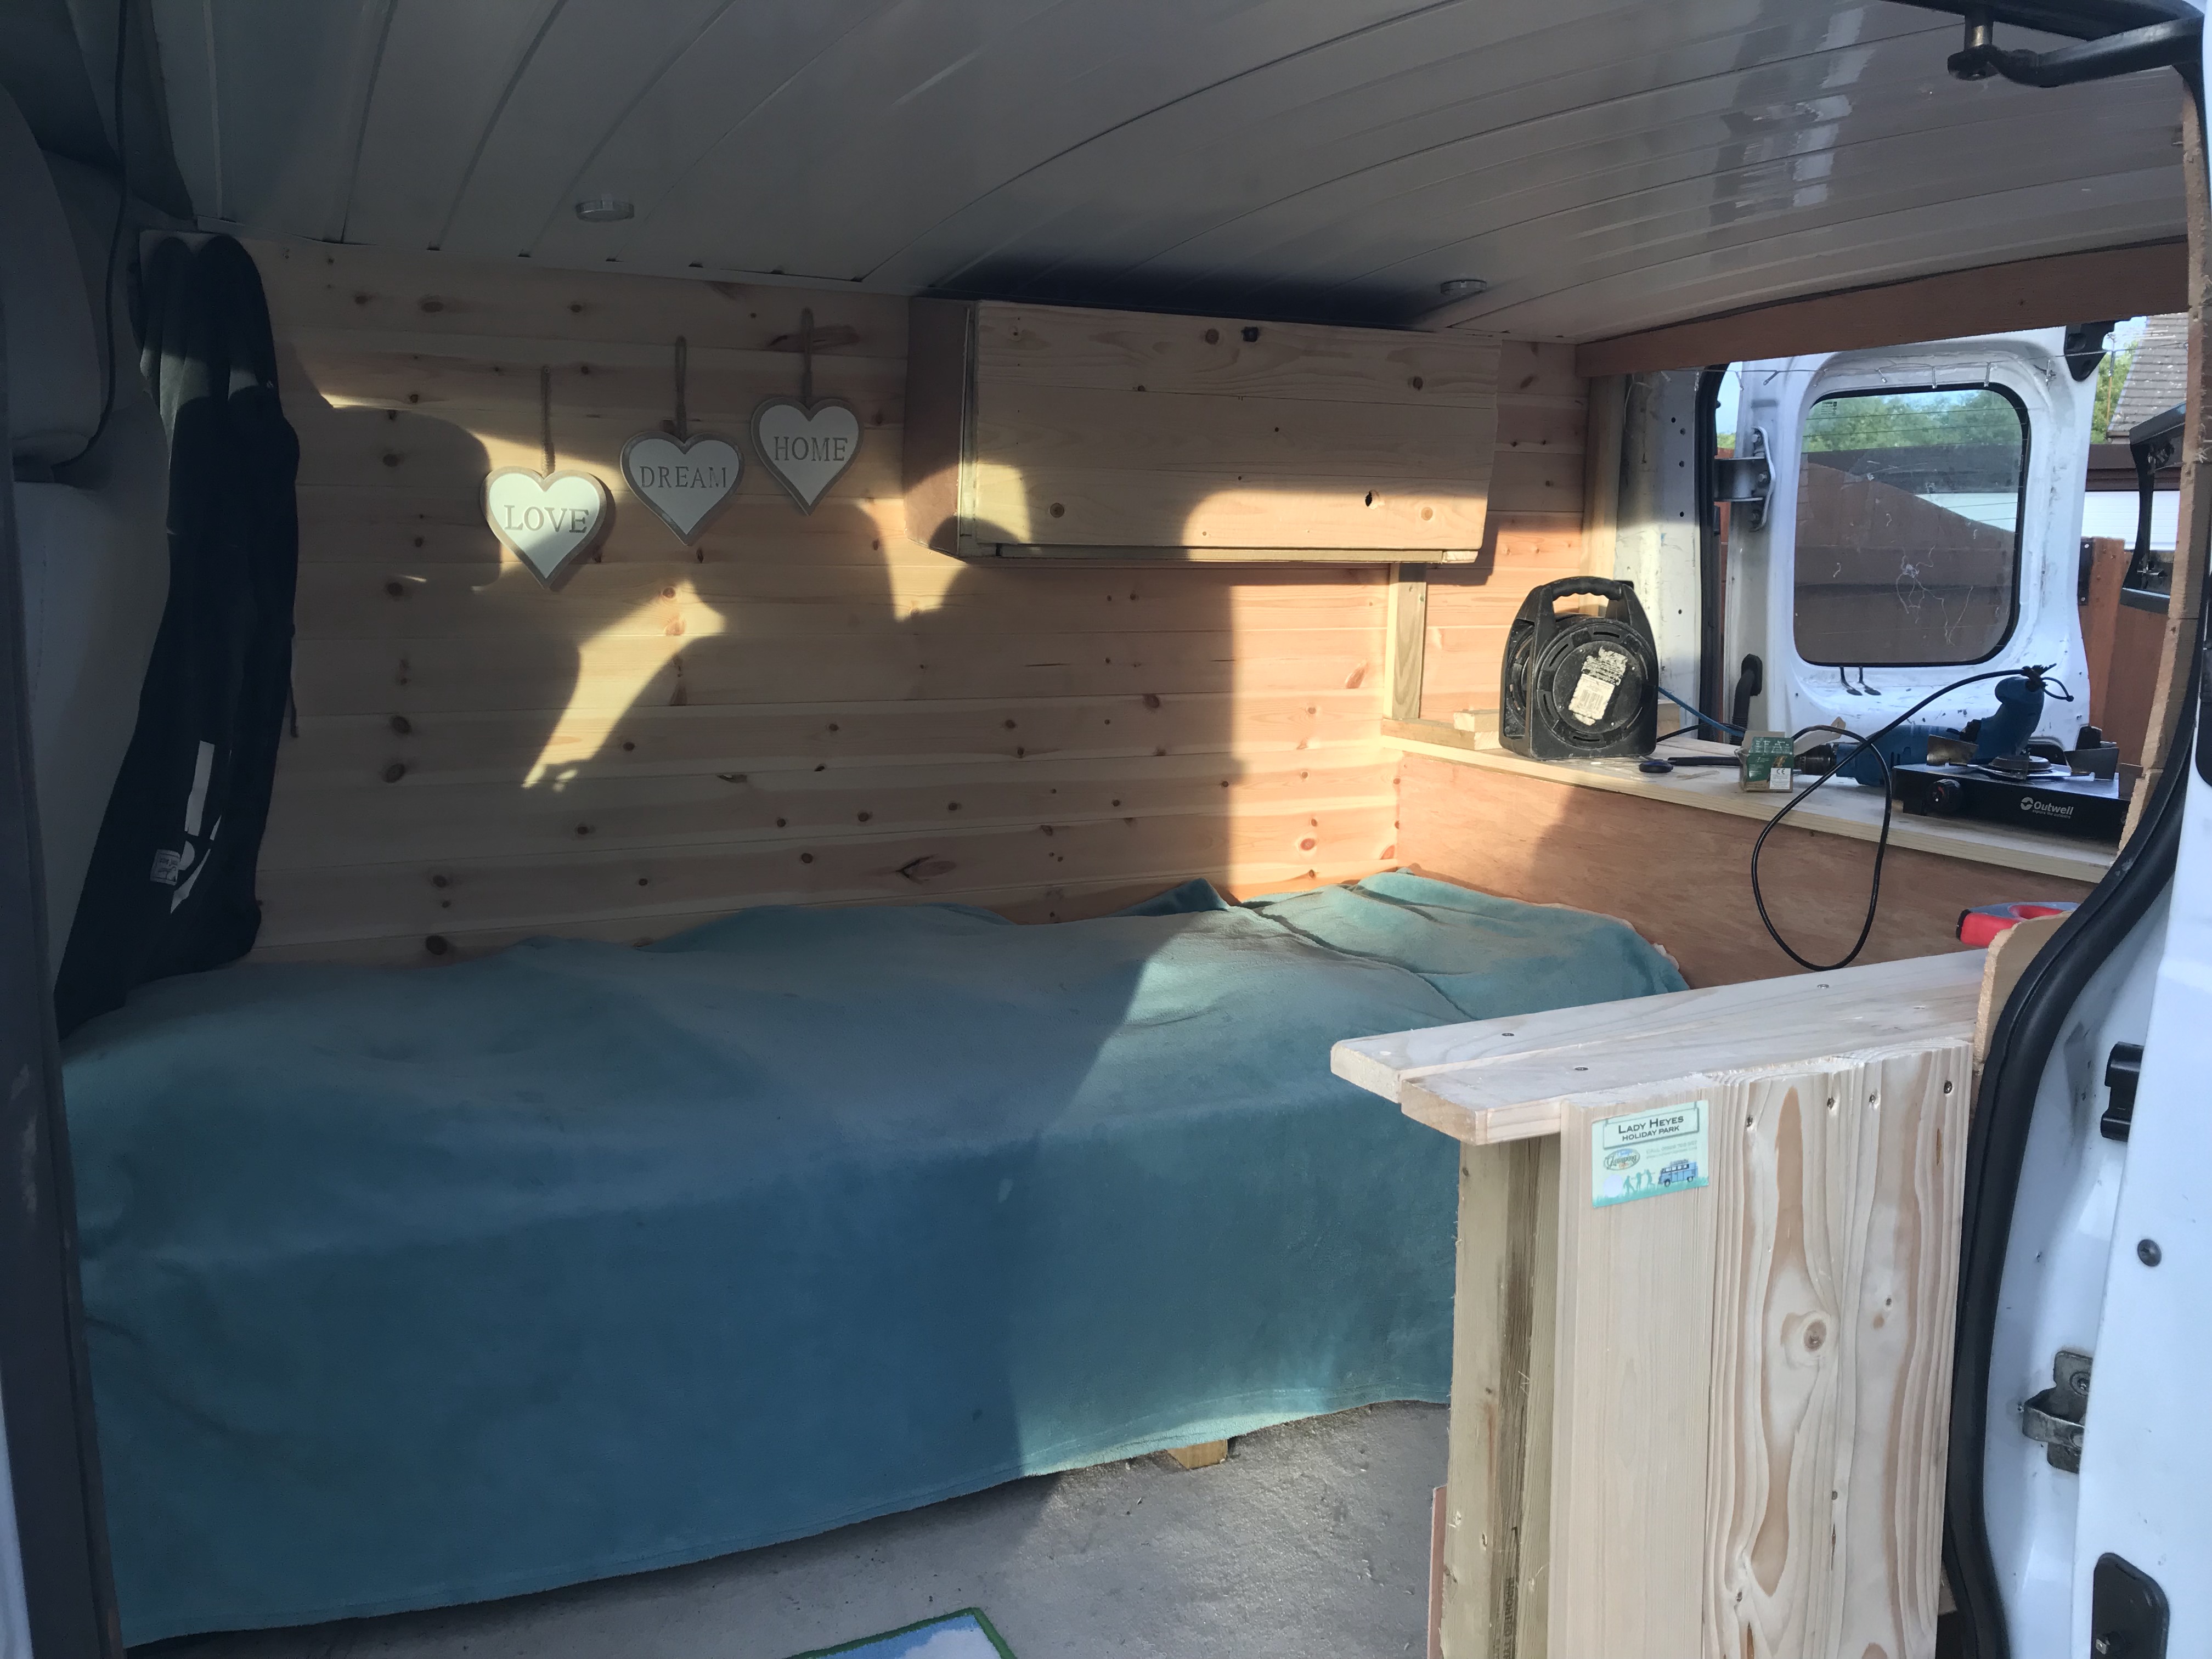
 After the tv bracket was sorted out it was time for some glamour shots of the interior now it has a partly finished interior!


 Make sure to check back as Work progresses on the van build 2.0! Thank you for reading! 😁


 After the boards were finished it was off into the van to hang them up as shelves I’ve only done one at the moment because I had to wait till I finished Cutting the foam to see where the bottom shelf would have to sit
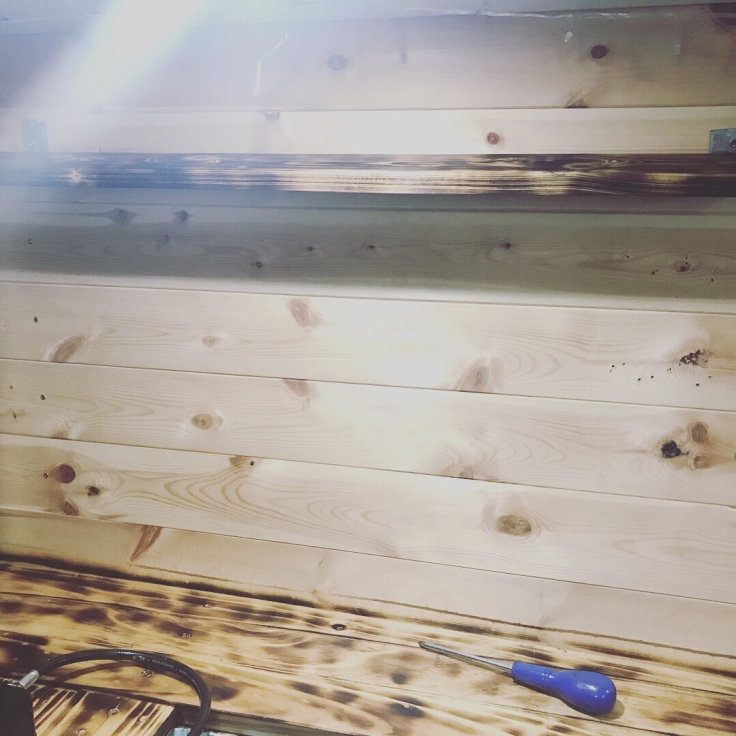 After the shelf was up it was time for the recycled jars to be hung up and me and Sam absolutely love the look of these 😍


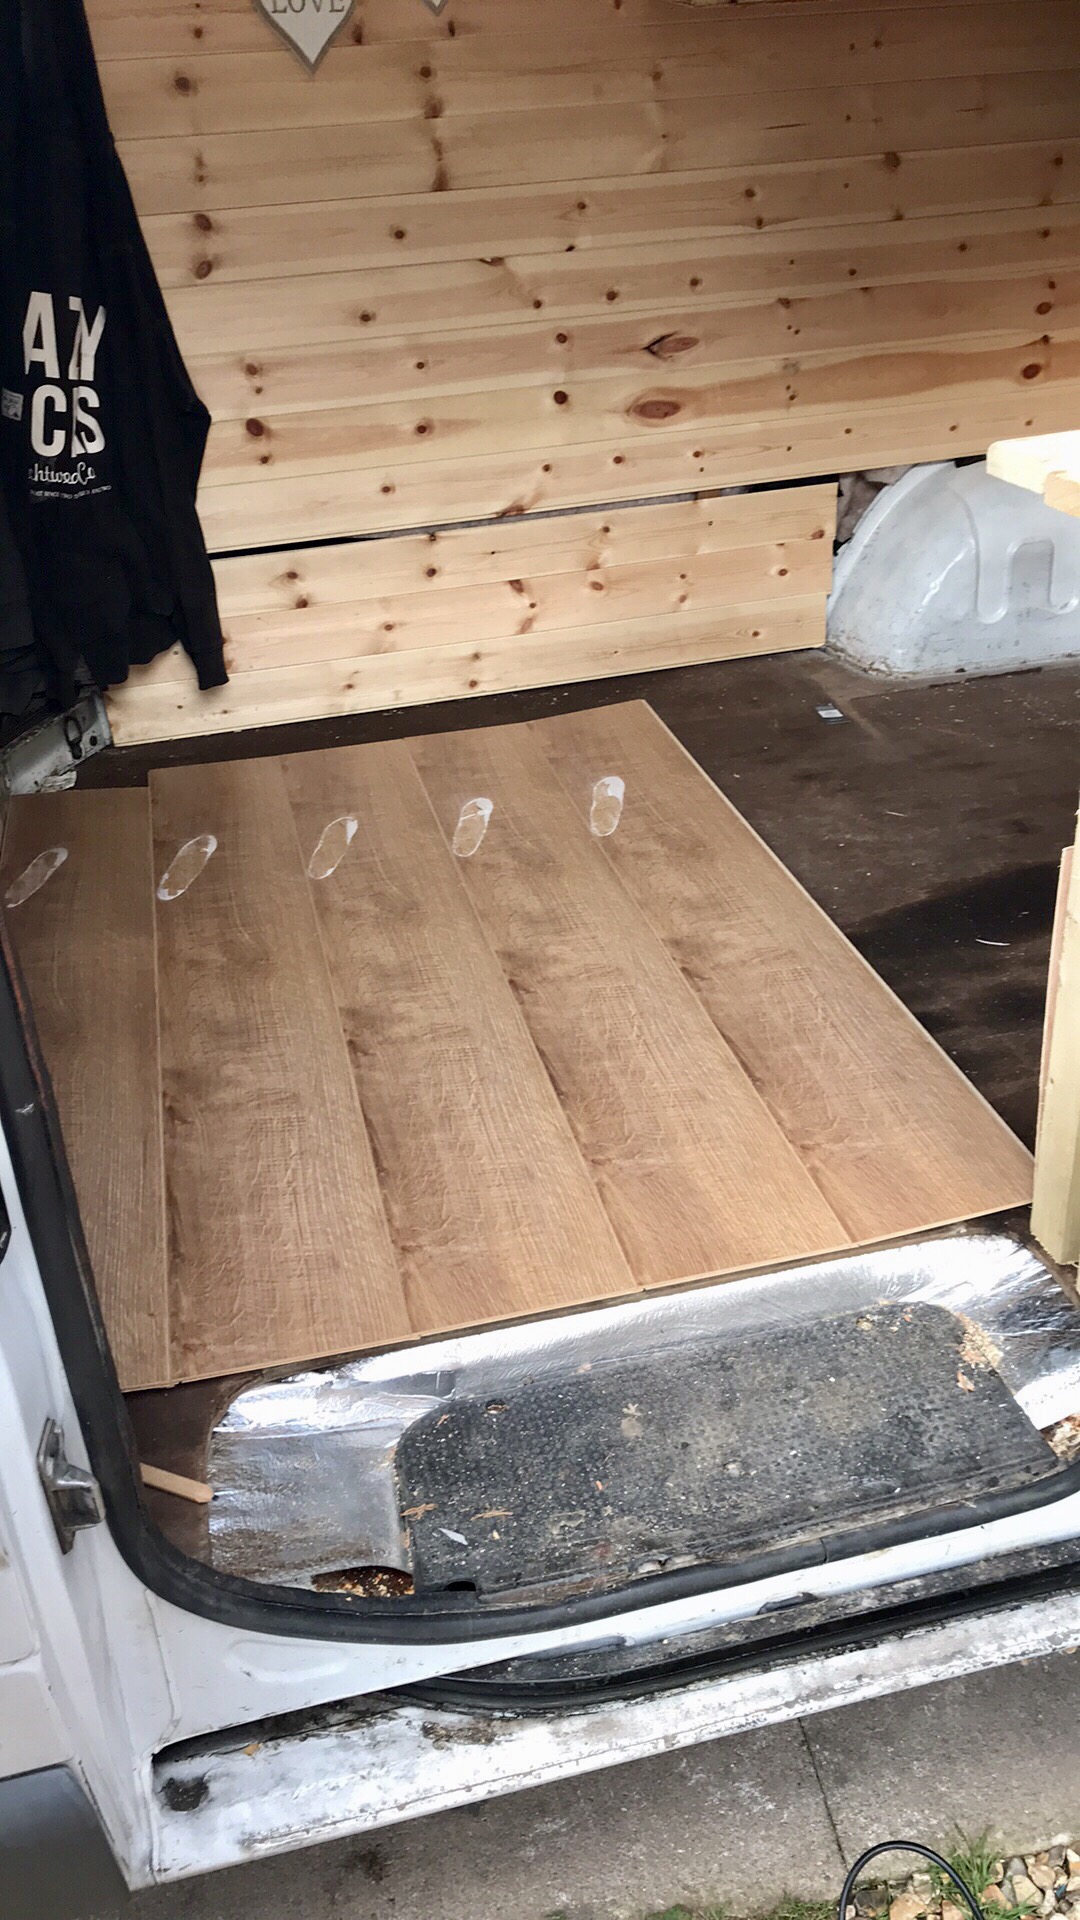
 This isn’t the finished product we ran out of short screws so could only hang up the tea coffee and sugar jars I’ll post a further update on the next post. You could always follow our Instagram to keep up to date with the build as it unfolds 👍 the next job on the list was cutting the foam to size and getting it to sit in the van nicely so out came the bred knife and the tape measure 😂
 Once the foam was cut it was time to test fit it in the van.
 It fits perfect and it’s crazy comfy! 😏 now it was time for the usual “glamour” shot you are all accustomed to on our blog 😂😂
 And that’s it all the work for his weekend done 👌 next stage in the build is to get the upholstery done on the foam so it doesn’t need a throw over it to look nice and tidy up the shelves! Make sure to follow us here or on Instagram if you want more frequent updates and some sneak peaks at what’s going on with the build 😉 and just to finish it off here’s a few pictures from a little trip up moel famau the other day and getting a well deserved brew in the van after a nice walk 👍 happy camping!
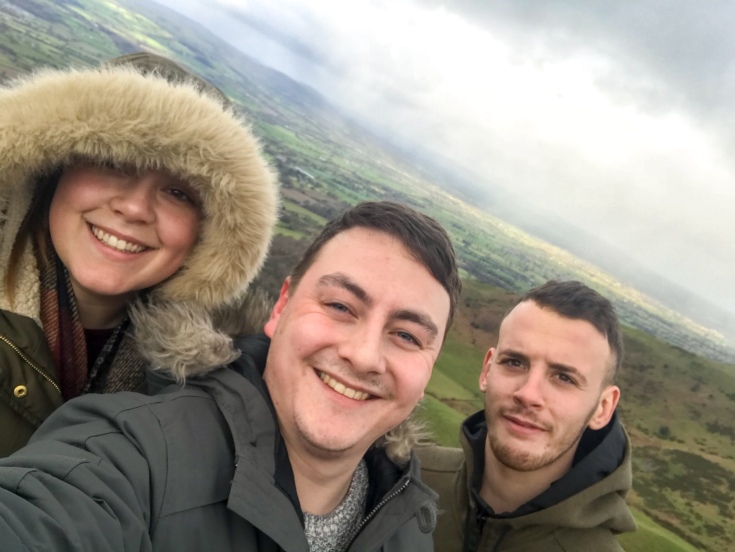


 <<<<<
<<<<<
 <<<<<
<<<<< <<<<<
<<<<< here’s the up to date look of the cupboard all screwed in!

 Whilst Dylan was building the cupboard, I began painting 👩🏻🎨 we chose the colour mint macaroon which was from the dulex range! we absolutely love it! At first we weren’t sure but once dried it looked different and think it looks so much better! Let us know what you think of the new look! 😍♥️


 <
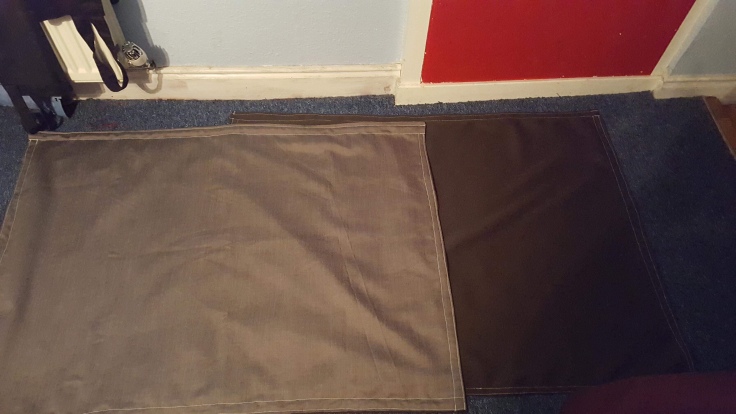
< I fixed baton along the back to hold the 3 pieces together I then sanded down all the rough edges and the face and then oiled the wood to darken it down slightly. This was the end result and I’m happy with it! 👌
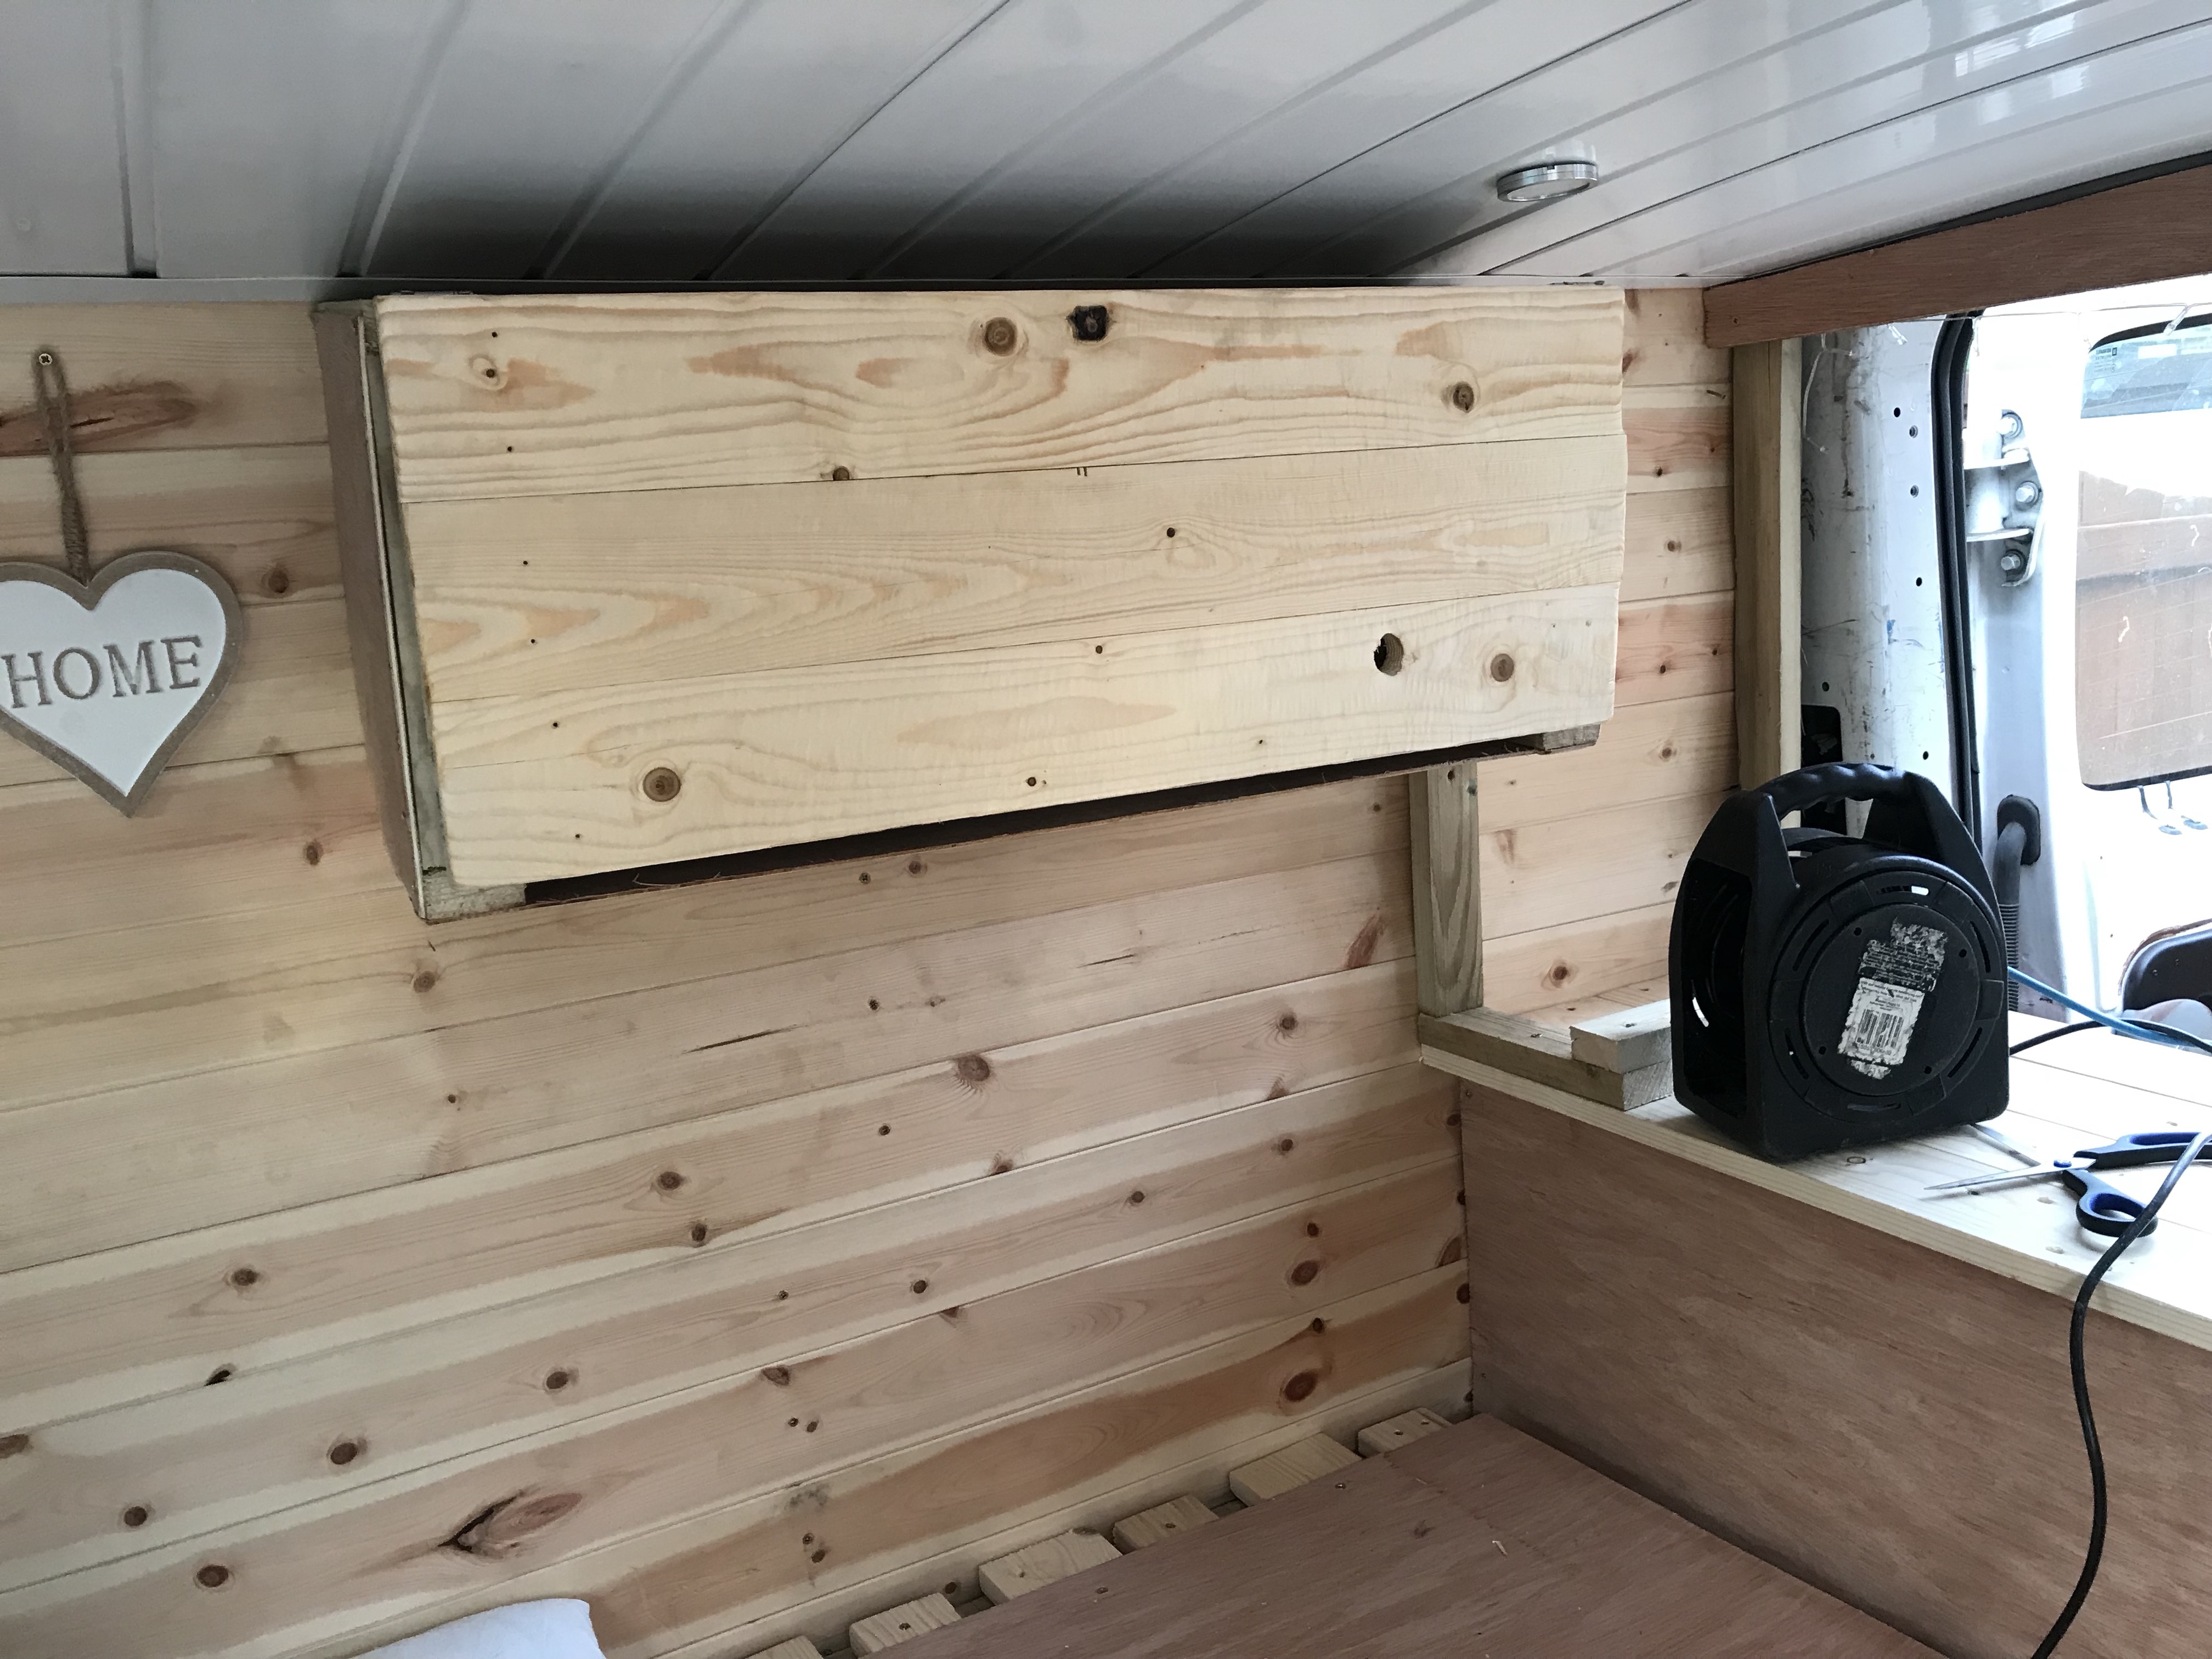

 Keep returning as this build evolves more and more each alteration!
